Using Kerning in Word
I had a flurry of emails a while ago asking for help with using kerning in Word for my fonts.
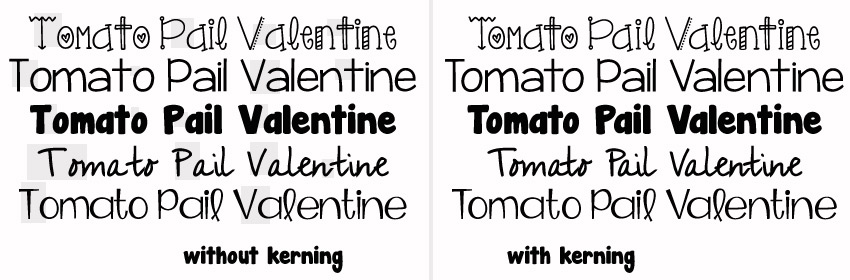
Microsoft Word is undoubtedly the go-to word-processing tool for many people. Unfortunately, Microsoft Word does not apply kerning as a default. So what happens is you open your document and you start typing and kerning is not applied to the letters the way you would like.
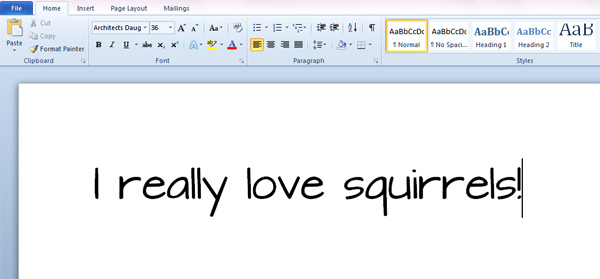
When this happens, you just need to click ctrl+A to select all of your text. Next, click ctrl+D to open the font window.
By default, the kerning for fonts will not have a check next to it. Check that and change the # next to points and above to 12 or 10 or 8 or whatever the smallest font size you’ll be using in your document is going to be.
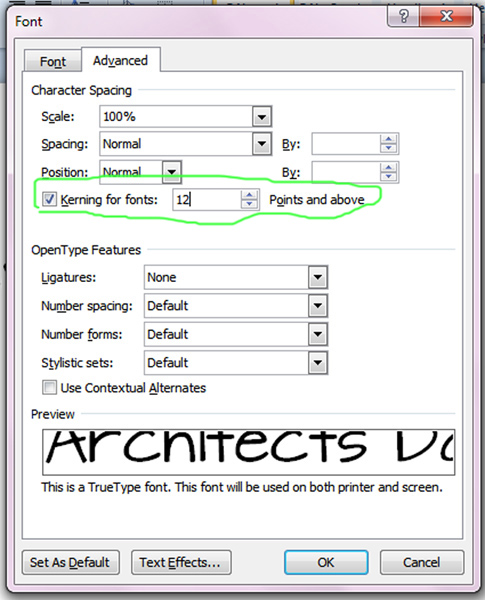
Click ok to apply the changes.
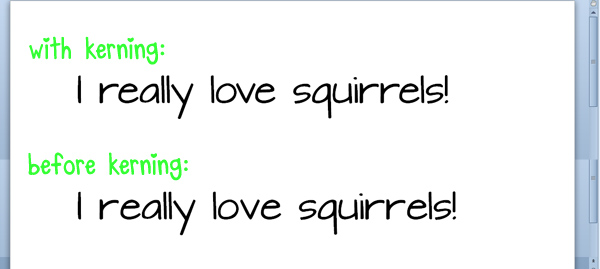
When you’re done, the font will have kerning applied, as seen in the upper image below. The bottom image below shows the “before” look so you can compare. (Hint: look between the r/e in really and squirrels and the o/v/e in love.)
I hope this was helpful. I can’t provide support for Microsoft Word. This mini-tutorial is provided only as a resource for those who needed help with this problem. I, unfortunately, do not have time to answer intricate Word-related questions. Thanks for understanding!